How to Set Up a Home Projector
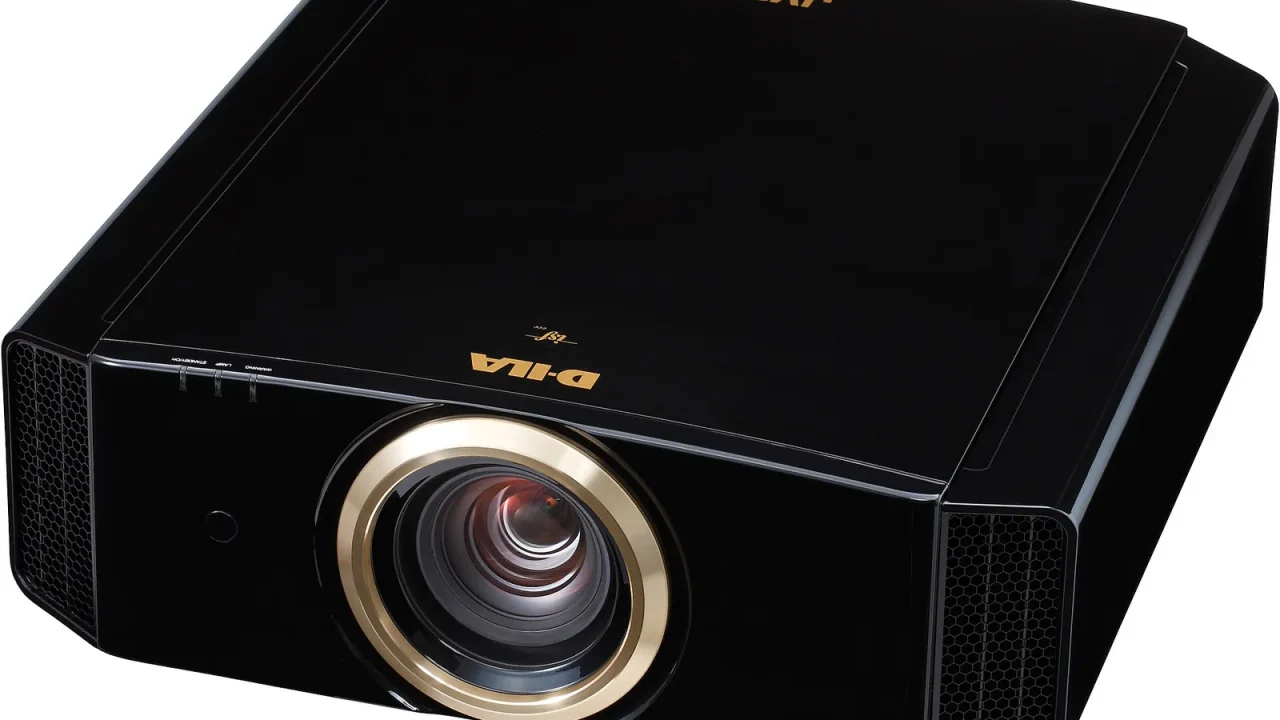
To set up a home projector, choose a stable position the right distance from a flat surface, size and align the image, focus it, then darken the room and sort out the sound. Getting placement right first saves most of the fiddling later.
Plan Before You Plug In
Projectors are fussier than TVs because the picture depends on geometry. Spend ten minutes planning and the rest is easy.
Pick the Screen Surface
You need a flat, light, smooth area. Textured walls scatter light unevenly and can look grainy. A pull-down or fixed screen made for projection tends to look more even, and a plain matte white wall is a reasonable starting point.
Work Out the Throw Distance
Every projector has a throw ratio, which links how far back it sits to how wide the picture becomes. Find it in the manual, then measure your room. Specs vary by model, so never assume two projectors need the same distance.
Step-by-Step Setup
- Place the projector on a sturdy table, shelf or mount, roughly level with or above the screen, and centered on it.
- Connect the power and your video source, then turn it on.
- Move the projector back or forward until the picture fills the screen, using any zoom for fine adjustments.
- Adjust height and tilt using the feet or lens shift if it has it.
- Use a still image with text to set the focus until letters look crisp, including at the corners.
- Apply keystone correction only if you still see a trapezoid.
- Set the picture mode and aspect ratio to match what you are watching.
Keystone and Lens Shift
If the projector sits at an angle to the screen, the picture becomes wider at one end. Digital keystone fixes the shape, but it works by reducing the active image, so it can slightly soften detail. Lens shift moves the image optically without that penalty, though not every model offers it.
The cleanest method is to line the projector up square with the screen so you need little or no correction at all.
Control the Light
Ambient light is the biggest enemy of a projected picture. Whatever the brightness rating, any light falling on the screen lifts the blacks and dulls contrast.
- Close blinds or curtains, especially those on sunny sides of the room.
- Dim or switch off lamps that shine toward the screen.
- Use a darker wall color or soft furnishings if reflections bother you.
- Place the projector so its light does not bounce off nearby shiny surfaces.
For more image-quality ideas that do not cost anything, see our guide to improving your picture without buying anything, since many of the same settings apply.
Sound and Cables
Built-in projector speakers are usually modest, and the fan can be audible. Plan on external audio, whether a soundbar or separate speakers, which we compare in soundbar vs speakers.
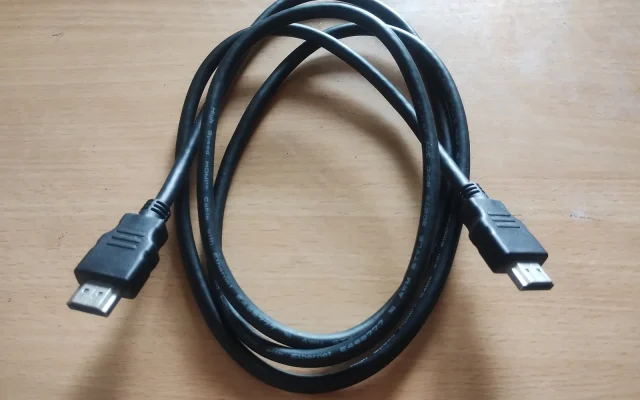
Also think about cable lengths before mounting. Long runs from a source to a ceiling projector need to be appropriate for the signal and installed safely. Our guide on tidying home theater cables offers neat ways to route them.
Common Problems and Quick Fixes
| Problem | Likely cause | What to try |
|---|---|---|
| Blurry corners | Projector not square to screen | Realign and refocus |
| Dim picture | Room light or an eco brightness mode | Darken room, check lamp or brightness setting |
| Trapezoid shape | Angled placement | Adjust height, tilt or lens shift |
| Fan noise | Heat or dust | Allow ventilation, check the manual for cleaning |
Care Tips
Give the projector clear space around its vents so it can cool. Let it cool down as the manual advises before unplugging, and keep the lens free of fingerprints using cleaning methods the maker recommends. Lamps and light sources age, and the lifespan varies by model.
Choosing the Right Image Size
Bigger is not always better. An image that is too large for your seating distance forces you to scan from side to side, and any softness becomes easy to spot. A good starting point is to make the image wide enough to feel immersive while still letting you take in the whole frame without moving your head much.
Test with a scene that has both bright and dark areas. If the picture looks dim, a slightly smaller image concentrates the light and usually looks punchier. Adjust the size, check the focus once more, then settle in. Many viewers also enjoy keeping a small lamp behind the seats at its lowest setting for comfort.
This is general information only. Follow the manufacturer’s instructions for mounting, ventilation and power, and consult a qualified professional for ceiling mounts or electrical work.
Frequently Asked Questions
How far should a projector be from the screen?
It depends on the lens and the image size you want. The throw distance is listed in the manual or on the maker’s website, so measure before you mount anything.
Do I need a special screen?
Not always. A smooth, plain, light-colored wall can work to start, but a purpose-made screen usually gives a more even and brighter picture.
What is keystone correction?
It digitally reshapes the image when the projector is angled, so a trapezoid becomes a rectangle. Excessive correction can soften the picture, so aim to align the projector physically.
Can I use a projector in a bright room?
You can, but the picture will look washed out. Dimming lights and blocking windows gives the best contrast, and brightness ratings vary by model.